On this page I am making the pics larger then normal to show detail. I'm not sure if it will make it upload a lot slower and be a pain for viewers. Please , feedback on this would really be appreciated! Thanks.
Poly trimming was good practice for using the Dremel I used the EZ lock cutting blade and was very pleasantly surprised how it did and how long it lasted.
Resin I am using for this part of project

The resin container says it is water proof. This is their general all purpose house hold use bondo. The little tube is the hardener that came with it. The small bottle is what I bought at Oreillys. The mixing bowl I got from Oreillys. I really like them, They cleanup really well with an acetone soaked rag and if you look a the photo below you can see it has multiple markings for different types of resin. Not bad for less then a buck
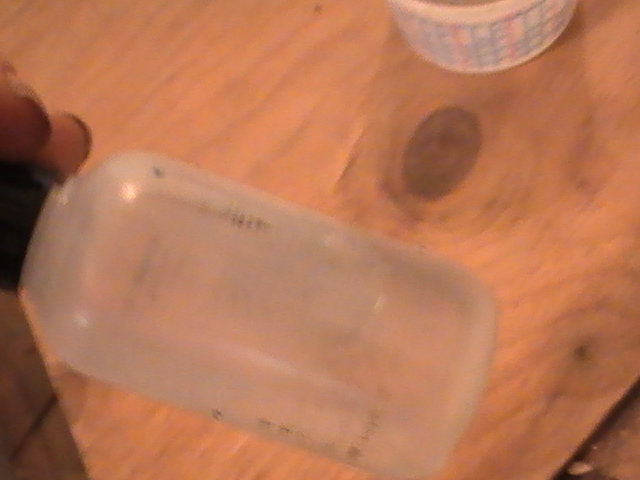 |
| It originally has Bondo liquid hardener written on it but the lettering came off as I used it due to sticky hands from resin. |

If you remember what I had after the poly cured was a real mess around the edges from having the plastic I used underneath.
 |
| Front |
 |
| Back |
Some close ups of the mess on V berth tip board.


Shots of the trim job in process
I forgot about taking shots before I started this but you can still get the general idea. I started by just taking it off a little bit at a time with scissors. Probably not a great idea but it got the largest part of it off. .If I had to do it all over again, I would use the Dremel for this part.
 |
| You can see where the resin from both sides overflowed the board. |
 |
| I now know how to make ice cycles out of resin. |
 |
| The back of the first board I did No plastic under the board.. |


 |
| the resin sealed the edges really well in various places. It seemed a pity to cut it off but it had to happen to fit. |


 |
| Front |
 |
| Back |
 |
| See the void? |
 |
| Separation of cloth due to plastic moving things around so I could not keep the cloth in place. Next time I think I will use staples to keep cloth in place. |
Time to use the Dremel.
 |
| First we take off the biggest part, making sure we leave enough room to not gouge the wood. |

Close ups of what we have left


On to the porta pottie board.


 |
| Ready for final sanding to pretreat top side. |


My Blue heeler standing by to make sure I get it right.
I still have to sand the excess poly off the front as that looks really tacky and has to be done before I pre treat for poly on the top sides but one step at a time I'm getting it done.

 |
| Looking GOOD!!!!!!!!!!!!! |

Even that first board I did for the porta pottie looks decent on the edges now that it is trimmed up.
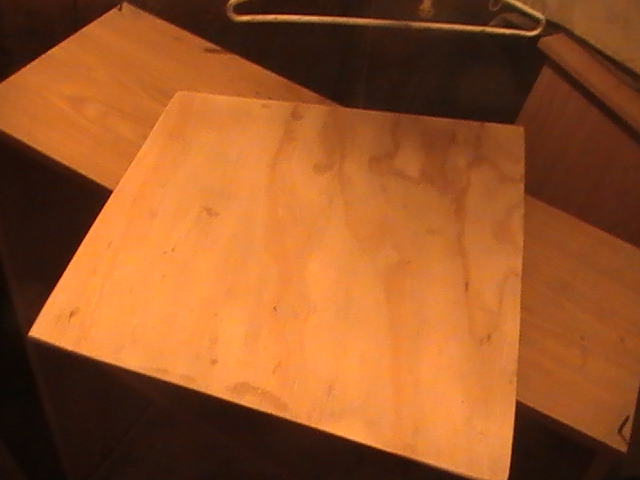


I got busy with starting the job of trimming up the wood for the bulkhead between the bow flotation and the new storage space. Am using the wood that was in the middle section. It is a tad to short across the beam but I can use a board stretcher made out of the other piece to fill in the gaps. I HATE throwing perfectly good wood away, Once it is in place and fiber glassed, it will be fine. For those if you that do not know what a board stretcher is, it is simply adding extra pieces where it is to short.
See the weave
These are close up shots of the first board I polyed. I did not know about pre treating it. You can see the weave of the cloth which as I understand it is a bad thing. Even I can tell this is not a good thing when compared to the board I pretreated with the diluted poly. This board, if put under water for a sustained period of time, I do not doubt for a minute would have severe delamination and form blisters.
This is I suspect why so may are down on using poly based resin for boat repair. When it comes to the hull or rudder, there is no way I would use polyester based resin. But for my purposes of interior it should be fine. Heaven forbid me ever being proven right about this by my boat being underwater! The board I pre treated with the diluted poly s does NOT have this problem.


V Berth Storage Bulkhead

I was truly surprised how long that one cutter lasted. I started out with trying to use my sons battery operated circular saw. The blade is getting really dull and the batteries are needing replaced, so I changed over to the EZ lock on my Dremel. I finished the second slant cut with it, did all the trimming on the two v berth pieces and got one of the hull notches done before I needed to change blades. Not to bad IMHO for one blade. It was burning the wood instead of cutting it by the time I got to the second notch.
That's all for now on the boat.
We finally got the wood stove ready. It was covered up out side but still got rusted. I guess metal absorbs moisture even if it is covered really well. Any way to make along story short we had a mess. It got rusted and I was NOT going to put it back in the house looking like that. I went out to Ace hardware to get some primer and stove paint.

While I was there John ( manager) reminded me about rust converters. He showed me a product but I did not like the idea of it turning a gray or white color. I noticed a little bottle of Rustoleum Rust reformer sitting up stop shelf so even at 8 dollars plus for a 8 oz bottle I bought it since it turned the rust black, which was more in line with what I had seen on you tube videos about another product. Plus I figured if it went well I would not have to repaint. I was not looking forward to having to have the guys brush all that rust off, sand it level and then prime and repaint that stove. Long story short, it took a couple of coats to do it. On some really bad spots we used three and four coats but it looks pretty good, even if I do say so myself. It is a more rustic look then if we had sanded it and painted it but that is OK. I don't think any one but me is going to care about that. I do want to put a light coat of paint over it later so it matches the stove pipe better . We sprayed the chrome pipe so it matches . One thing I do need to mention if you use the rust converter or paint on a stove MAKE REAL SURE YOU BURN IT WITH A REALLY GOOD SOLID STRONG HOT FIRE BEFORE YOU PUT IT IN HOUSE! That first fire is going to stink so bad it will drive you out of the House! PLEASE TRUST ME ON THIS! WE PUT A PAPER FIRE IN IT THINKING THAT WOULD DO. I WAS SO WRONG!!!!
It ended up taking the best part of 2 bottles but it was worth it in just the work saved of not having to brush, sand, prime and paint the stove.
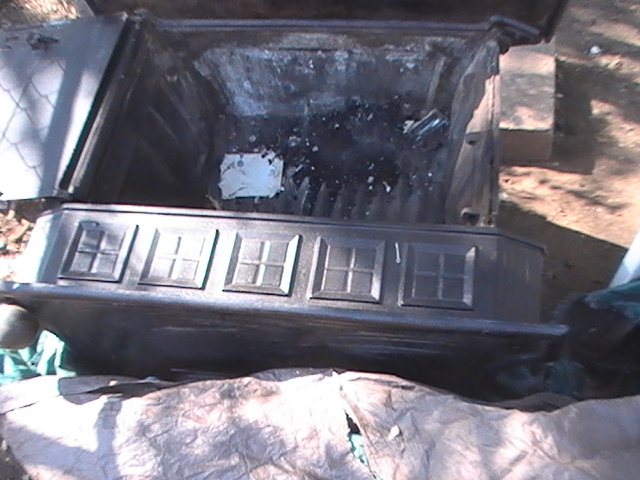
Shots of in progress stove rust conversion to show the color after rust conversion.
 |
| Not to shabby |
 |
| Looking good and working just fine!!!!!!!!! |
I finally got around to ordering the parts for the Lumina. 100 bucks USD but what are you gonna do? It has to be done. We basically are replacing the entire coolant over flow system.
I can't believe how much they want for new tires for this van! It is outrageous! 500.00 for tires? I'm having my son go check out the salvage yards. Same issue for the boat trailer and little trailer.
One thing at a time it will get done.
The house is getting really close to being done. Have a lot of little stuff still to do then we are good to go.
That's all for now. Sail safe but sail
And never forget to USE DA GREY MATTER


