Flash back to earlier rudder page.


As you can see the pitting is really deep.
What some one did was weld two SS plates together for each side and fasten them to a extra long top piece to make the wrong bottom rudder piece stretch to the point in the water they wanted it to be at.
The really bad part is the top part was so long it dragged through the water. In the areas that have heavy epoxy protection the wood looks pretty good. In the areas the epoxy protection was thin or non existent the wood rotted.

Lines are where I know the wood is still solid because I beat on it with a hammer.

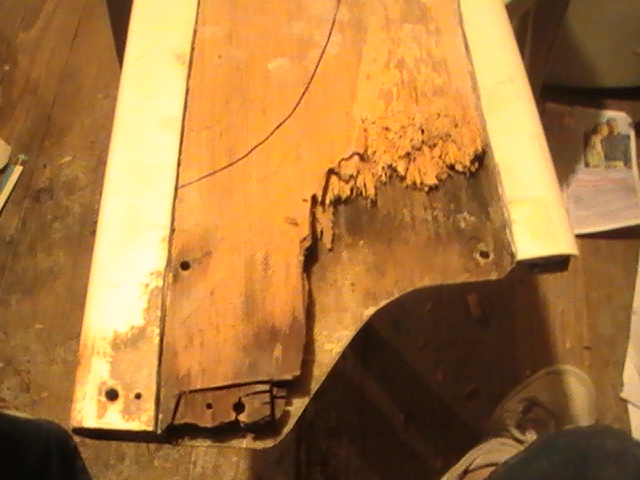 |
| This is after I beat out most of the rotted wood with a hammer. |

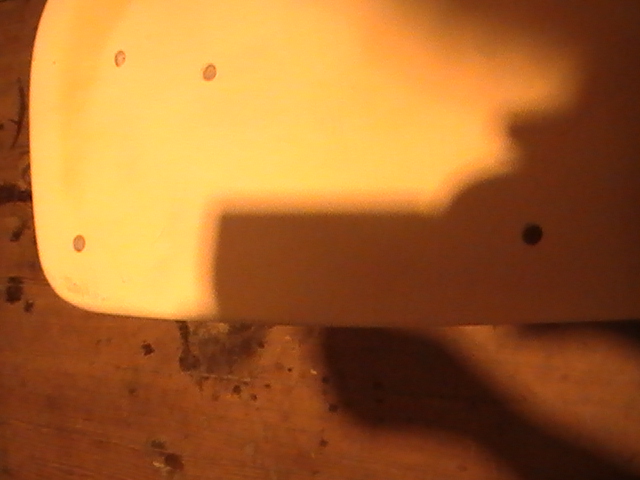
next area of concern on top piece.
On the original rudder page I mentioned that a part of the rudder had gotten knocked so hard in so many places, it was literally shifted over just far enough to feel it with your finger. You can see the crack in the fiberglass next to the marked rotted wood area.

The bottom rudder blade before. It dos not show well here but the edge was serrated like a steak knife. Better close ups are on the original rudder page.
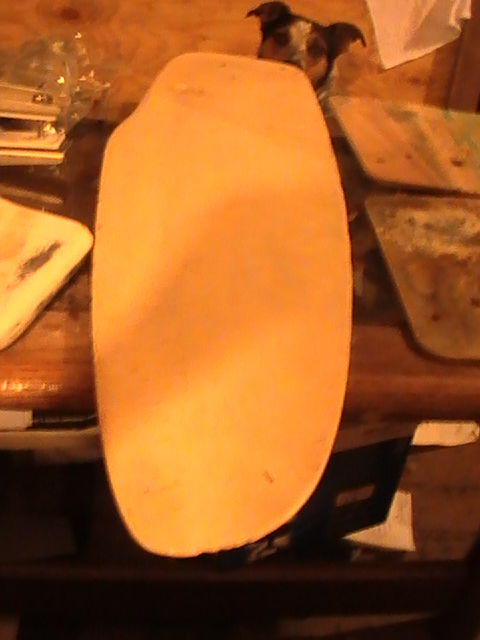 | ||
| Lower rudder blade before |
What bites is after three evenings of work sanding this down on the edge especially, it turns out to be the wrong danged blade!!!!!!!!
I'm not saying it is perfect, but I can run my fingers along the edge and surface and not feel a single chip or ding.


 | |||||||
Ladies, If i can do this you can as well. All I used was a sander and a LOT of multiple grades of sand paper. Specifically course 50 and 150 fine that I had on hand from another project.
The tiller
The wood and hardware sems to be in decent shape even if it has completely de laminated. Since I'm going to have to buy epoxy any way it seems like the thing to do is just laminate this back together and clean up the hardware.
Contacted what I thought might be the original manufacturer of lower rudder. Turns out this one is not even close to proper size. It is so far off that the contact person asked if I would specifically mention that it was NOT one of theirs on the forum I made original inquiries about it on.
The decision.......
I've been looking at this from the view point of are these parts worth fixing or am I better off starting from scratch. I'm thinking the thing to do is find the CORRECT measurements for a proper sized rudder and make a new one from scratch or buy one. The hardware might be reusable for a while but scrapping the top, selling the stainless for scrap and listing the lower blade on ebay is probably my best bet.
Any one with a proper rudder set up for a 1971 venture 222 please send me measurements and drawings!!!!!
Got it!!!!1
Turns out I have it!!!! YIPEEE!!!!!
No comments:
Post a Comment