Given the choice of painting the skirting outside after it has been installed when the weather has been so weird we pre-painted it inside. After it was cut all we had to do was touch ups along the edges and screws and wala it was done!
 |
| Yes that box is my custom paint table for this part of the project |
 |
| How to keep the paint off of the floor? Part 1 |
 |
| How to keep the paint off of the floor? Part 2 |
 |
| Finis! |
The Window
Do you remember me saying a couple of post back about how I kept sanding the floor and the window kept nagging at me? I forgot to take a before shot but here it is as it sits right now. We took it all apart and basically am completely revamping it. The top pane was once a four part pane with this really pretty wood separating the panes of glass. The top piece literally fell apart in our hands. After several attempts to redo it as it originally was we decided to KISS and just replace the top frame with a straight single pane.
 |
| Ready to replace inner wooden guides. Yes, that is temporary caulking in the form of paper towels in the cracks between the storm window and frame to keep the wind out. |
 |
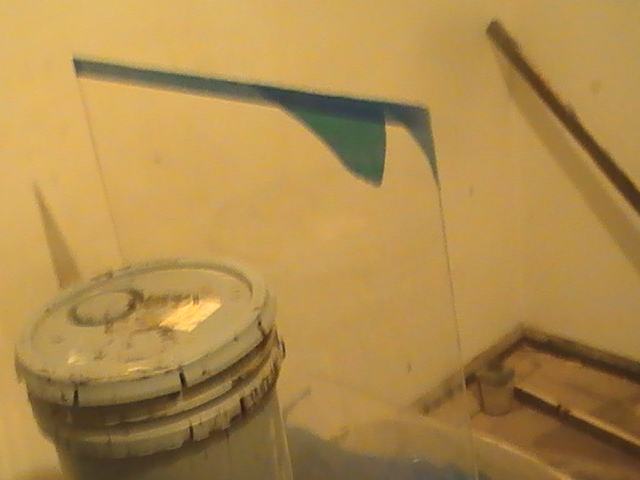
| Plexi glass ready to be installed into frames. |
 |
| First coat of paint and ready for Plexi to be installed |
 |
| Other frame ready for Plexi |
Why Plexiglass? Because I had this 4 x 8 brand new piece left over from a different project.
The floor
I may have already posted this earlier. It was still on the camera so to be sure here is the shots of my partially stained bed room floor. Yes we are going to have to re-sand it but what the heck. I like bending over on my knees on a hard wood floor in the middle of winter fighting with a sander right? NOT!!!!!
Ladies using a belt sander for this application to get the old finish off is IMHO a guaranteed way to increase tone in certain muscles. IF your back can handle it! It gives new meaning to "OH MY ACHING BACK!"
 |
| From left to right , the dark is where I stained it. I wanted to make sure I was going to like how it looked before we did the whole floor. The clearer middle is where it has been sanding and the dark really bad looking is the before shot. |
 |
| Along the wall |
Last but not least the Surround for around the wood burning stove.
This stove has sat on the cinder blocks already laid on the floor for years. I had put a double layer of the thin 2 " x 8" x 16" around it. It does not hold as well as you would think. For warmth , heat retention that radiates heat long after the fire is out, it was GREAT! I was just not comfortable putting ceramic tile on top of it. We are putting a cinder block wall around it . It will guide air to circulate from the bottom to back and then out the top using convection. With ceiling fans it make a little bit of wood heat this house up really well. I close off the rooms until the living room is rather warm, then open up the rest of the house. This one little stove will literally keep the whole house warm except in the coldest weather. Then we close off the back rooms and are nice and toasty.
Ladies I am convinced there is a very good reason by brick layers and work such as this is traditionally done by men,. IT IS DARNED HARD AND HEAVY WORK! I'm pacing my self and even with that if I get 5 blocks put in solid every couple of days I'm doing good!
Some one asked me if it turned out good would I consider doing it for them. I told them IF it comes out to suit me, and they want me to do it for hem, the labor bill will be a flat rate and out outrageous and it won't be fast! They asked how much would I charge. I told them I don't know I have not finished this one yet.
Any way that's whats been going on here. Hope your enjoying this nice cool weather we are having and that Ol man winter is not being to hard on you.
We are still land locked for a bit longer but we are nice and toasty warm and NOT paying a high priced heat bill. I Hope you can say the same.
Rember life is to short for hassels. GO sailing and leave the hassles on the dock.
Til next time......


No comments:
Post a Comment